Scones, for me, have always held a special place. They are a consistent crowd-pleaser. They always go down well with family and friends. This is true whether it is a quiet morning or a bustling get-together. I sometimes hear them described as dry. Some even say they are uninspired. I can certainly understand why some form that impression. Unfortunately, many have only encountered a scone that falls short of its potential. Still, with just a little extra attention and a few simple techniques, they can truly be transformed into something remarkable.
The Humble Scone, Elevated
The beauty of the scone lies in its deceptive simplicity and incredible versatility. Beyond the basic recipe, there’s a whole world of possibilities waiting to be explored. From subtle infusions to bold additions, you can truly make them your own. And here’s the best part: they really are quick to make. You might be surprised at how little time you need to create a batch of warm, homemade delights.
Get Baking Today!
Learning the fundamentals of scone-making is surprisingly straightforward. In just about 15 to 20 minutes of preparation time, followed by a mere 10 to 15 minutes in the oven, you can have a batch ready to enjoy. To help you embark on your scone-making journey, I’ll include some optional extra ingredients. These suggestions are designed to get you started, giving you a taste of how different additions can alter the character of your scone. From there, I encourage you to experiment, play with flavors, and discover your own perfect scone creations.
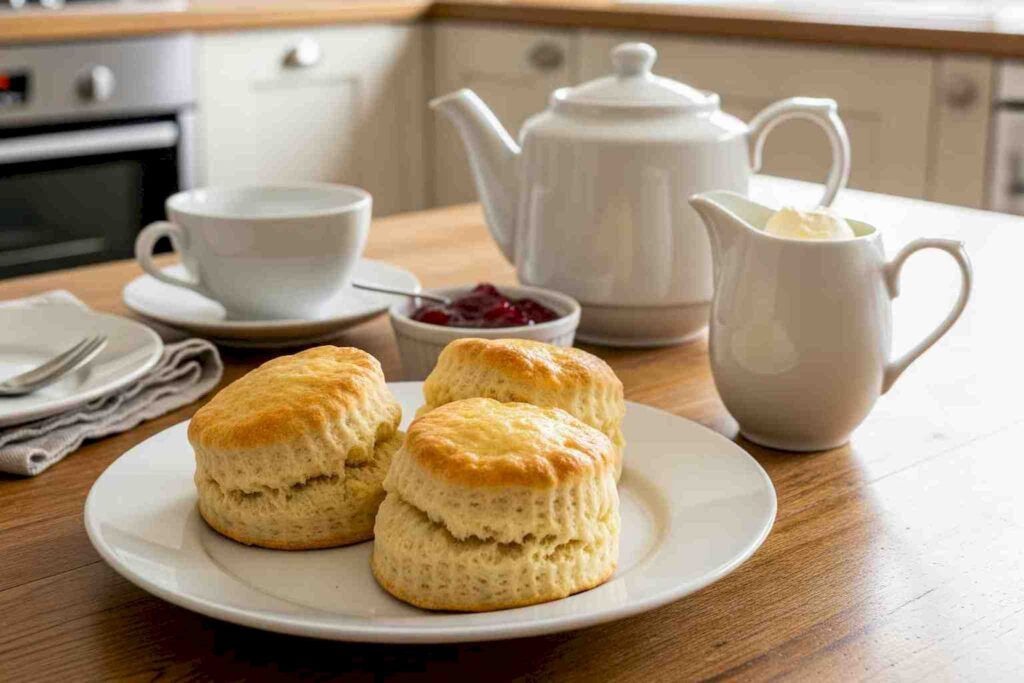
Easy Scones
Description
Basic and Simple Scones
Ingredients
Optional Extras
To Serve
Instructions
-
Prep
- Preheat the oven to 220C/200C Fan.
- Sift the flour, baking powder and sugar into a bowl. Add the butter in small pieces and then rub the mixture together with your fingers until you have a sandy mixture.
- Crack the eggs into bowl and add the 250 ml of milk, if you would like to add vanilla add it to this mixture.
- Add the egg mixture slowly to the flour mix, do not add it all at once. Keep adding slowly until you have a dough that is slightly sticky
- Spread some flour onto a work surface and then tip the dough onto the surface.
- Gently knead the dough and when done fold a last time ready to roll out.
- If you plan to add Sultanas, raisins, raspberrys or anything extra now is the time to add it while kneading.
- Roll out the dough until it is roughly 2cm thick square,
- Use a 5cm cutter to cut your circles, but you can also cut them into s5cm by 5cm squares.
- Move the cut dough onto prepared baking trays,
- You should have a little egg mixture left over , spread this over the tops of the scones.
- Bake for 10-15 minutes, or until they are nicely risen and a pale, golden colour.
- When ready put on a wire cooling rack to let them cool
- Serve with whipped cream and jam
Do not over handle the dough, this can make it tougher. Cutting the scones into 5cm by 5cm squares is something I do when I forget where I put my cutters or simple am to lazy to go get them. - Preheat the oven to 220C/200C Fan.